| Select your business name from the main navigation bar, then select Manage users. 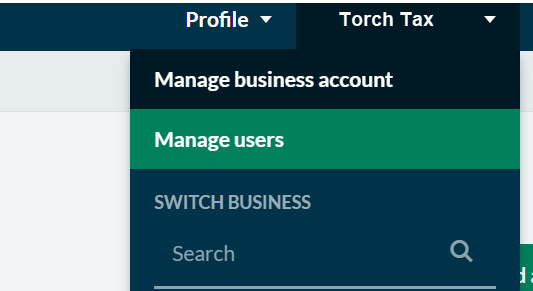
View a user When you are on the Manage users section, you can view all your current users. Select the relevant user to show that user's business-level access details. How to add a user -
Go to Manage users. -
Select Add user. -
Enter the email for the user. -
Select the checkbox depending on the account-level access you want to give. A single user can access both options, a single option, or no access assigned to them. -
Select the business you want to assign to the user and include their role and product area. A single user can have multiple roles assigned to them. - Select Add to complete adding the user.
Manage user permissions - Click the profile icon in the top-right corner.
- Choose My Team from the dropdown menu.
- Find your user in the list.
- Customize permissions by selecting checkboxes in the permissions column.
Change the first or last name for the user who's logged in -
From the navigation bar, select Profile, then My profile.
 -
Select Login details.
 -
Make your changes, then select Save. |