

Summary
Description
This is step 6 of 7 to set up your clients with Sage Accounting.
- set up AutoEntry in Sage Accounting
- access AutoEntry help site
Cause
Reduce manual data entry.
Spend less time inputting invoices and receipts by hand.
Create transactions directly into Sage Accounting from scanned and photographed invoices, receipts or documents.
Resolution
-
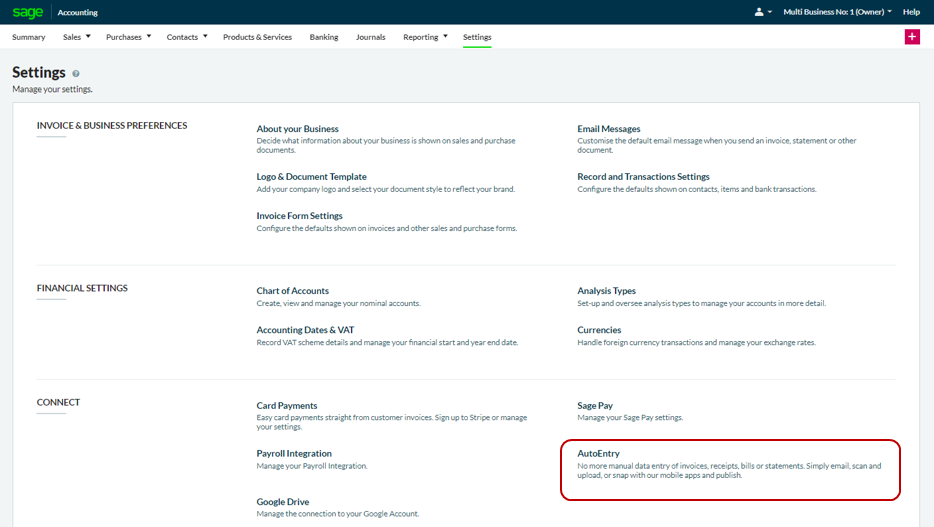
Find your AutoEntry settings by selecting Settings from the menu.

-
From the Connect section, select AutoEntry.
-
Select Go to AutoEntry.

-
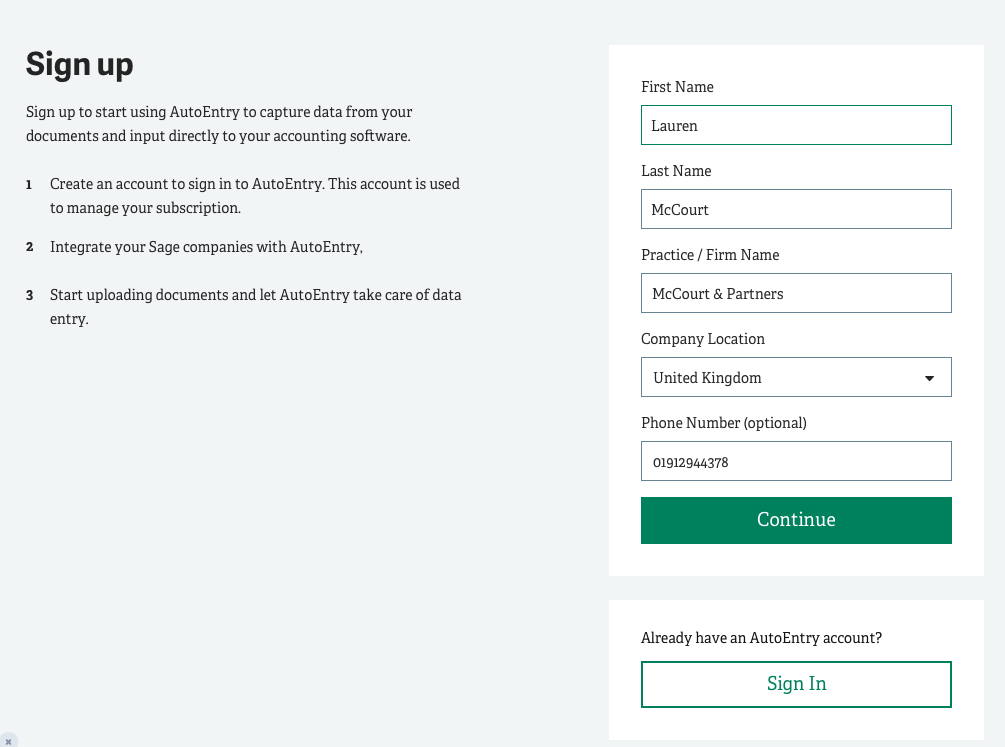
Complete the form, then select Continue to create an account with AutoEntry.
-
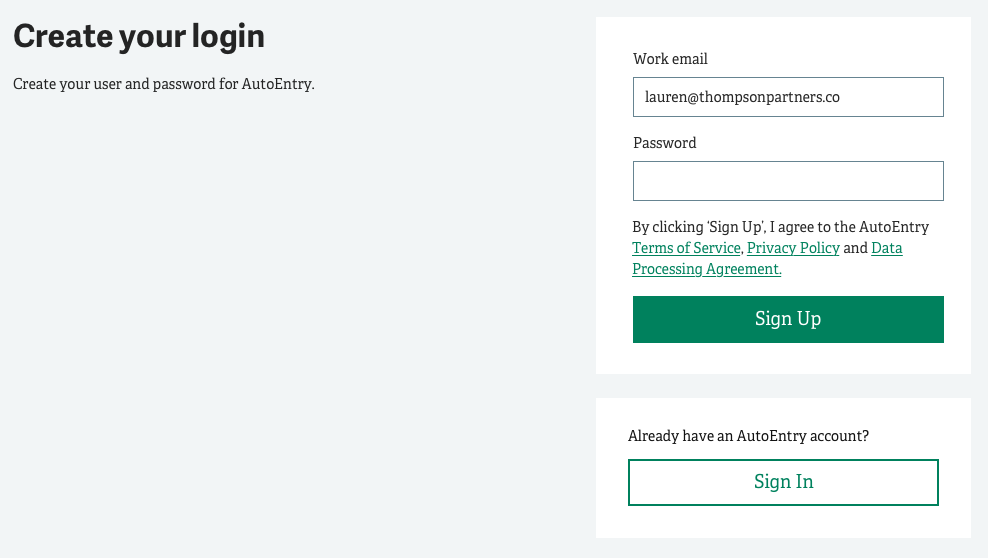
Enter your email address and choose a password.
-
Select Continue to start the setup process.

-
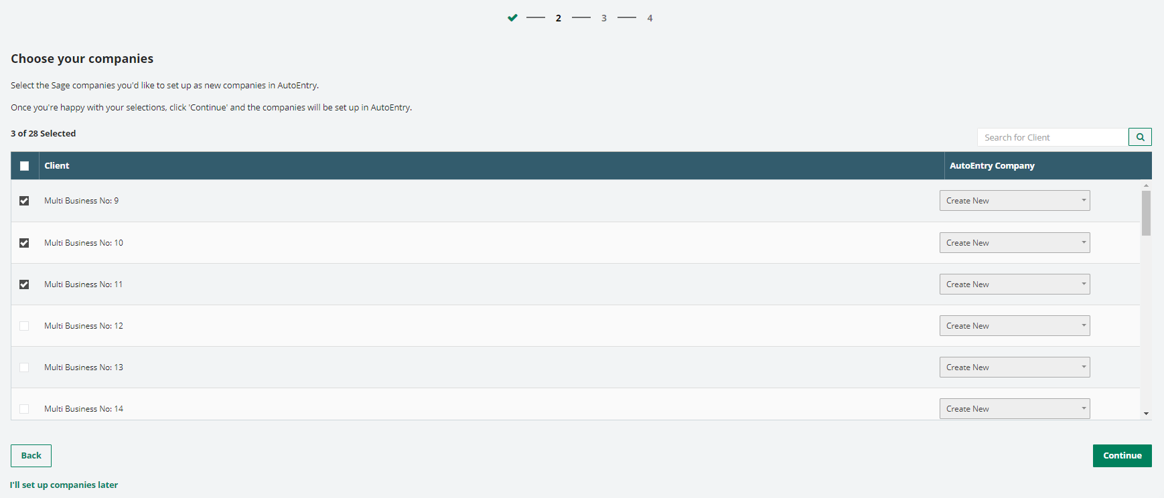
If you have multiple companies, choose the companies you want to use with AutoEntry.
-
Screenshot for multiple companies
-
Screenshot for a single company
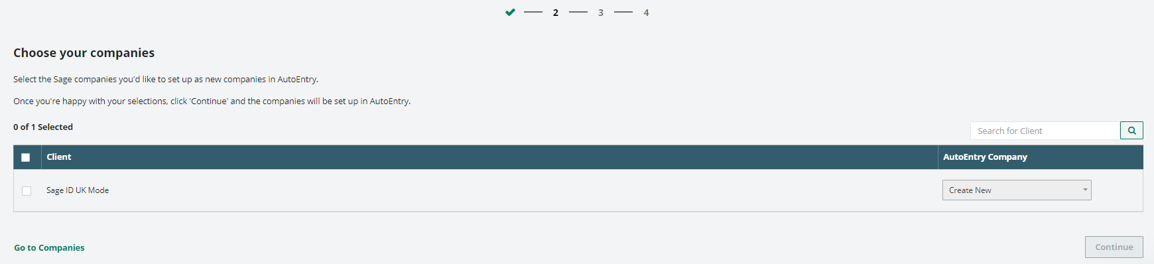
-
-
Select Continue. The companies will import into AutoEntry.
-
Screenshot for multiple companies

-
Screenshot for a single company

-
-
When all companies are created and integrated, select Continue.
-
Select Get Started to go to AutoEntry.
-
Screenshot for multiple companies
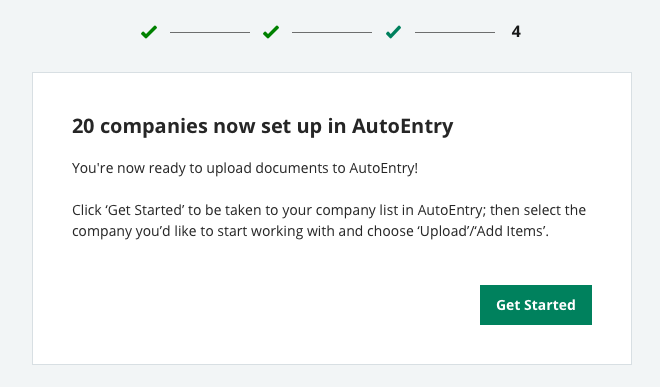
-
Screenshot for a single company
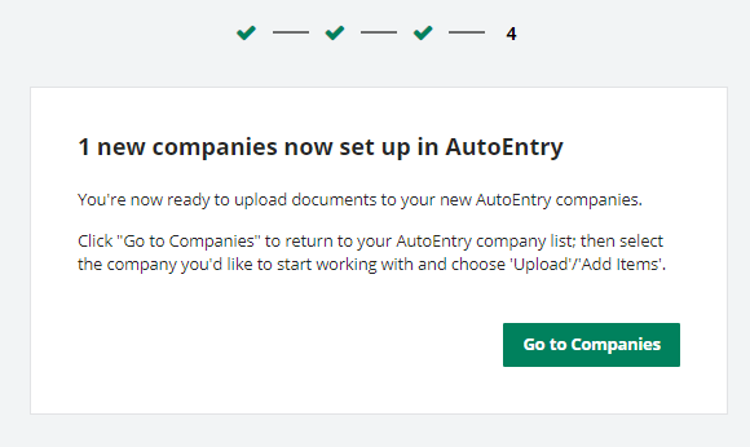
-
-
You'll see your integrated companies in the AutoEntry company list. You're now ready to upload documents (opens in a new window or tab).
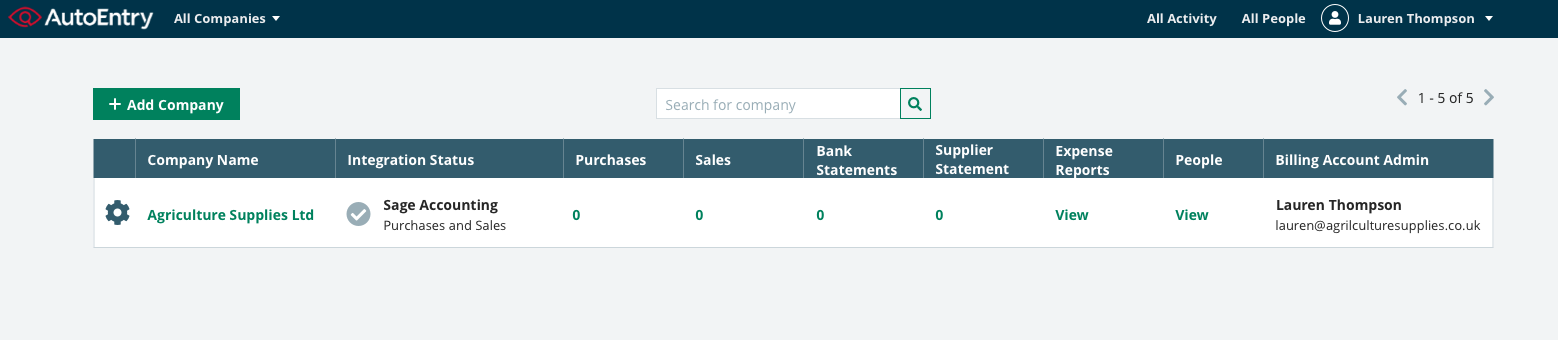
To add multiple companies again
- Go to the AutoEntry company list.
- Select Add Company.
- Select Add companies from the Sage tab.
 Africa
 Asia
Asia Australia
 France
 Ireland
 Kenya
Kenya Nigeria
 Portugal
 South Africa
 Spain
Spain United Arab Emirates
 United Kingdom
 United States
 Germany